Recording1
Recording in the small booth
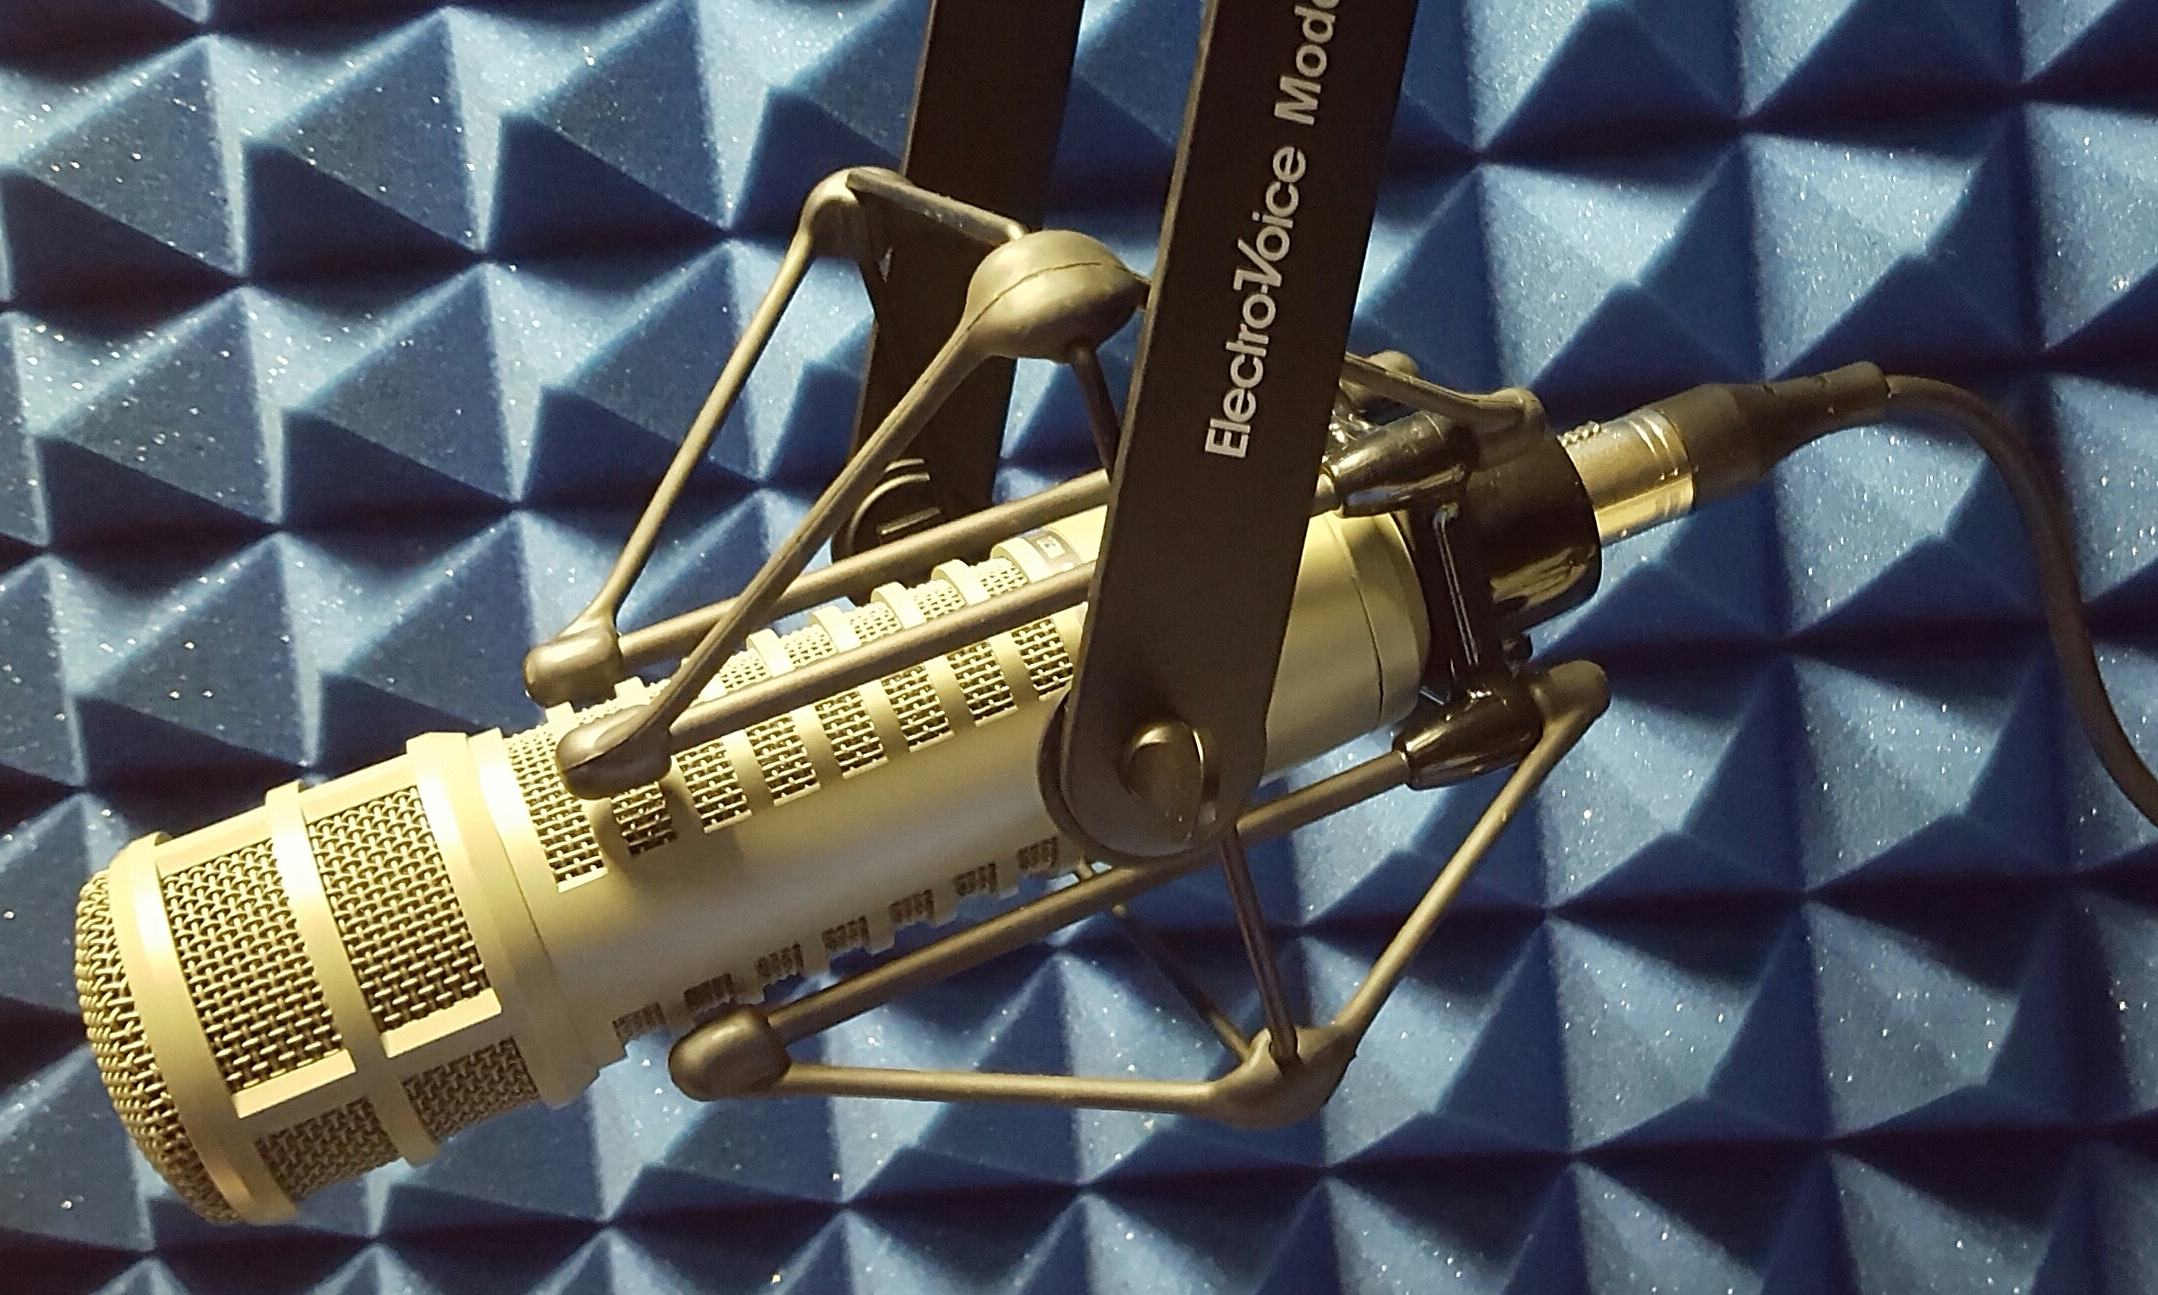
The small booth is a dedicated recording station. It has a boom-mounted mic that is always connected to Hyoid, a linux computer. Hyoid can be fully controlled either from within the booth or from the admin workstation to the left. This is intended to allow things like self recording or guided recording of a consultant.
This guide will help you:
- restore the microphone to working order if some miscreant has fiddled with it.
- create high quality recordings of yourself or a consultant, suitable for phonetic analysis and publication.
- preview your recording on the headphones in the booth, on the speakers at the admin workstation, or both.
- store data on Hyoid so it will be backed-up to the lab’s server2.
- transfer data, using a USB flash drive, from Hyoid.
Getting started

- All Five cables need to be plugged in to the blue Cloud Pre-amp, and the Steinberg Audio Interface as shown above
- CHECK: are there
- 3 circular XLR cables,
- 1 squarish USB-B cable and
- 1 audio cable
- All of these MUST be plugged in like this for recording to work.
Recording in Audacity
From the desktop screen click on the audacity icon
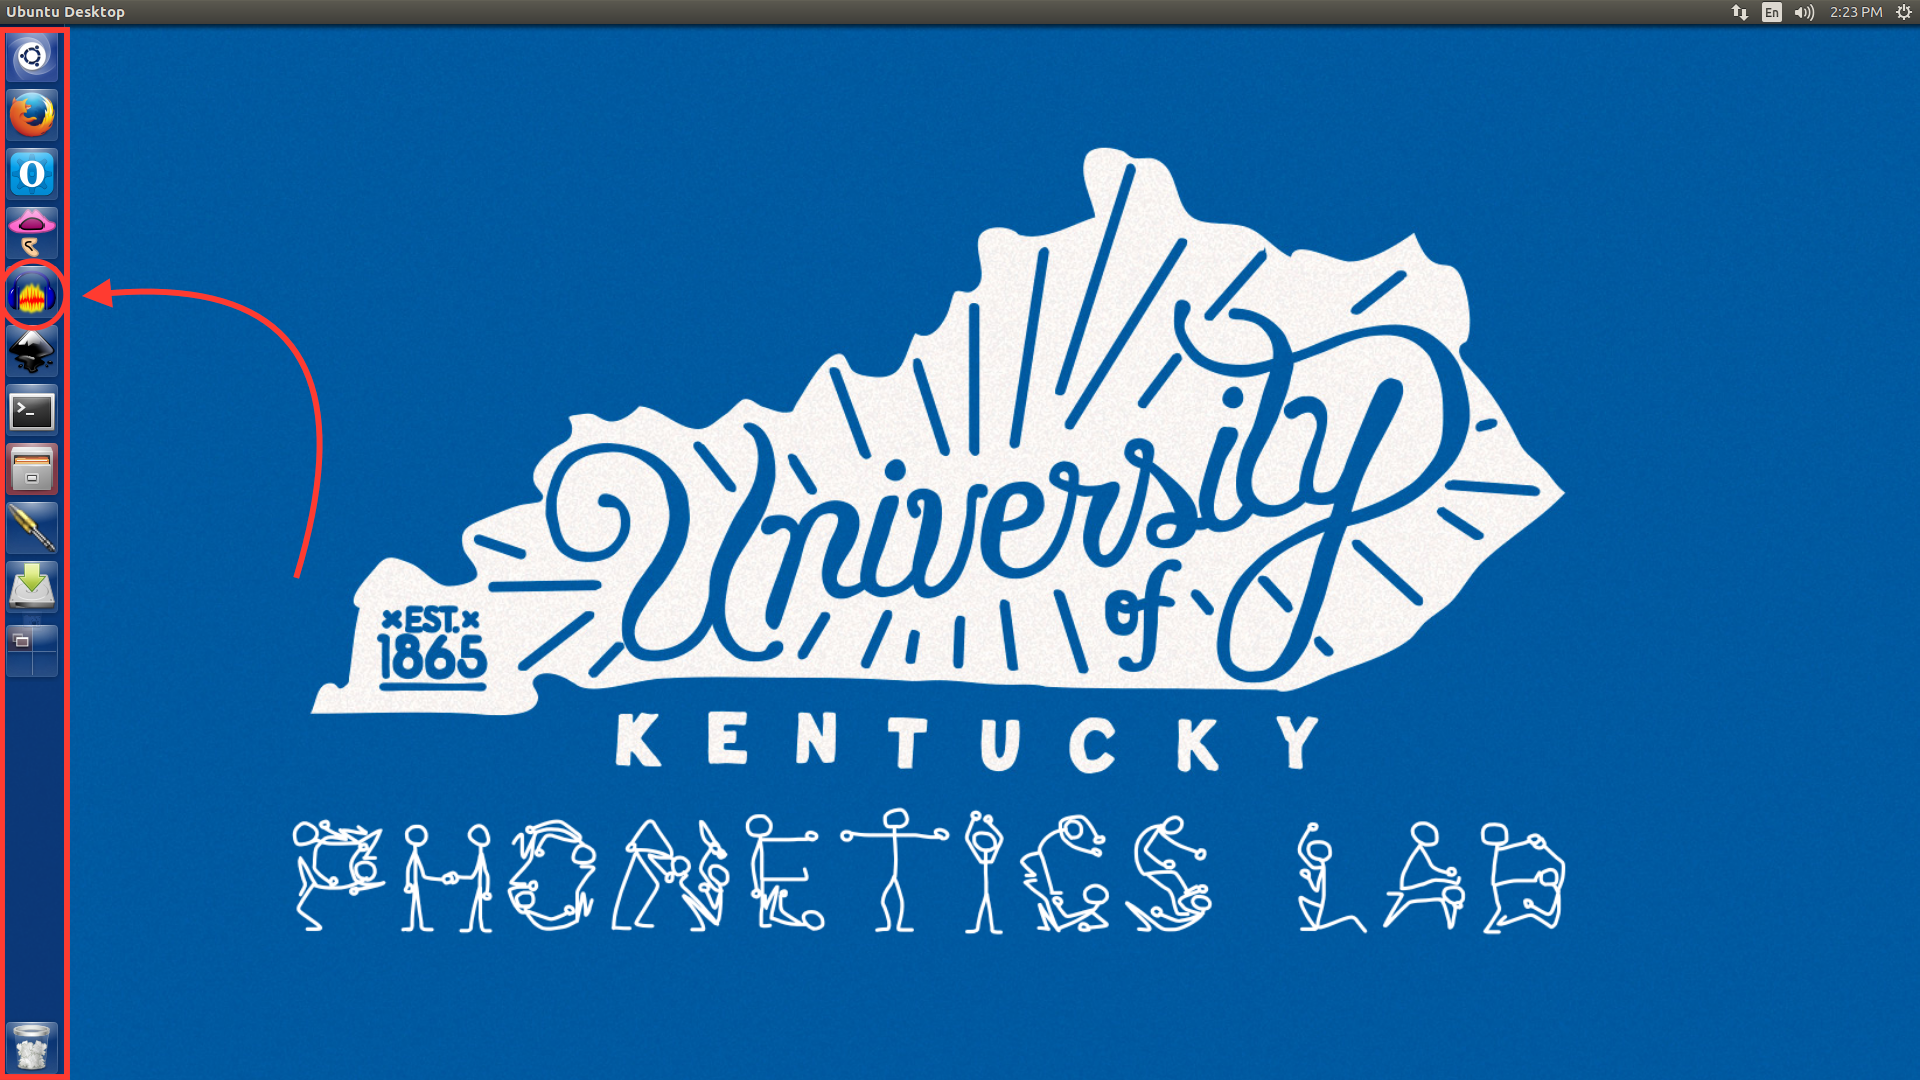
Click on red circle icon near the top of the screen to start recording
Command Button Record 
Pause 
Stop 
Click on the Pause button to pause the recording temporarily
Click on the Square icon to Finish your recording
Go to the
FilesmenuSelect
Export Audio...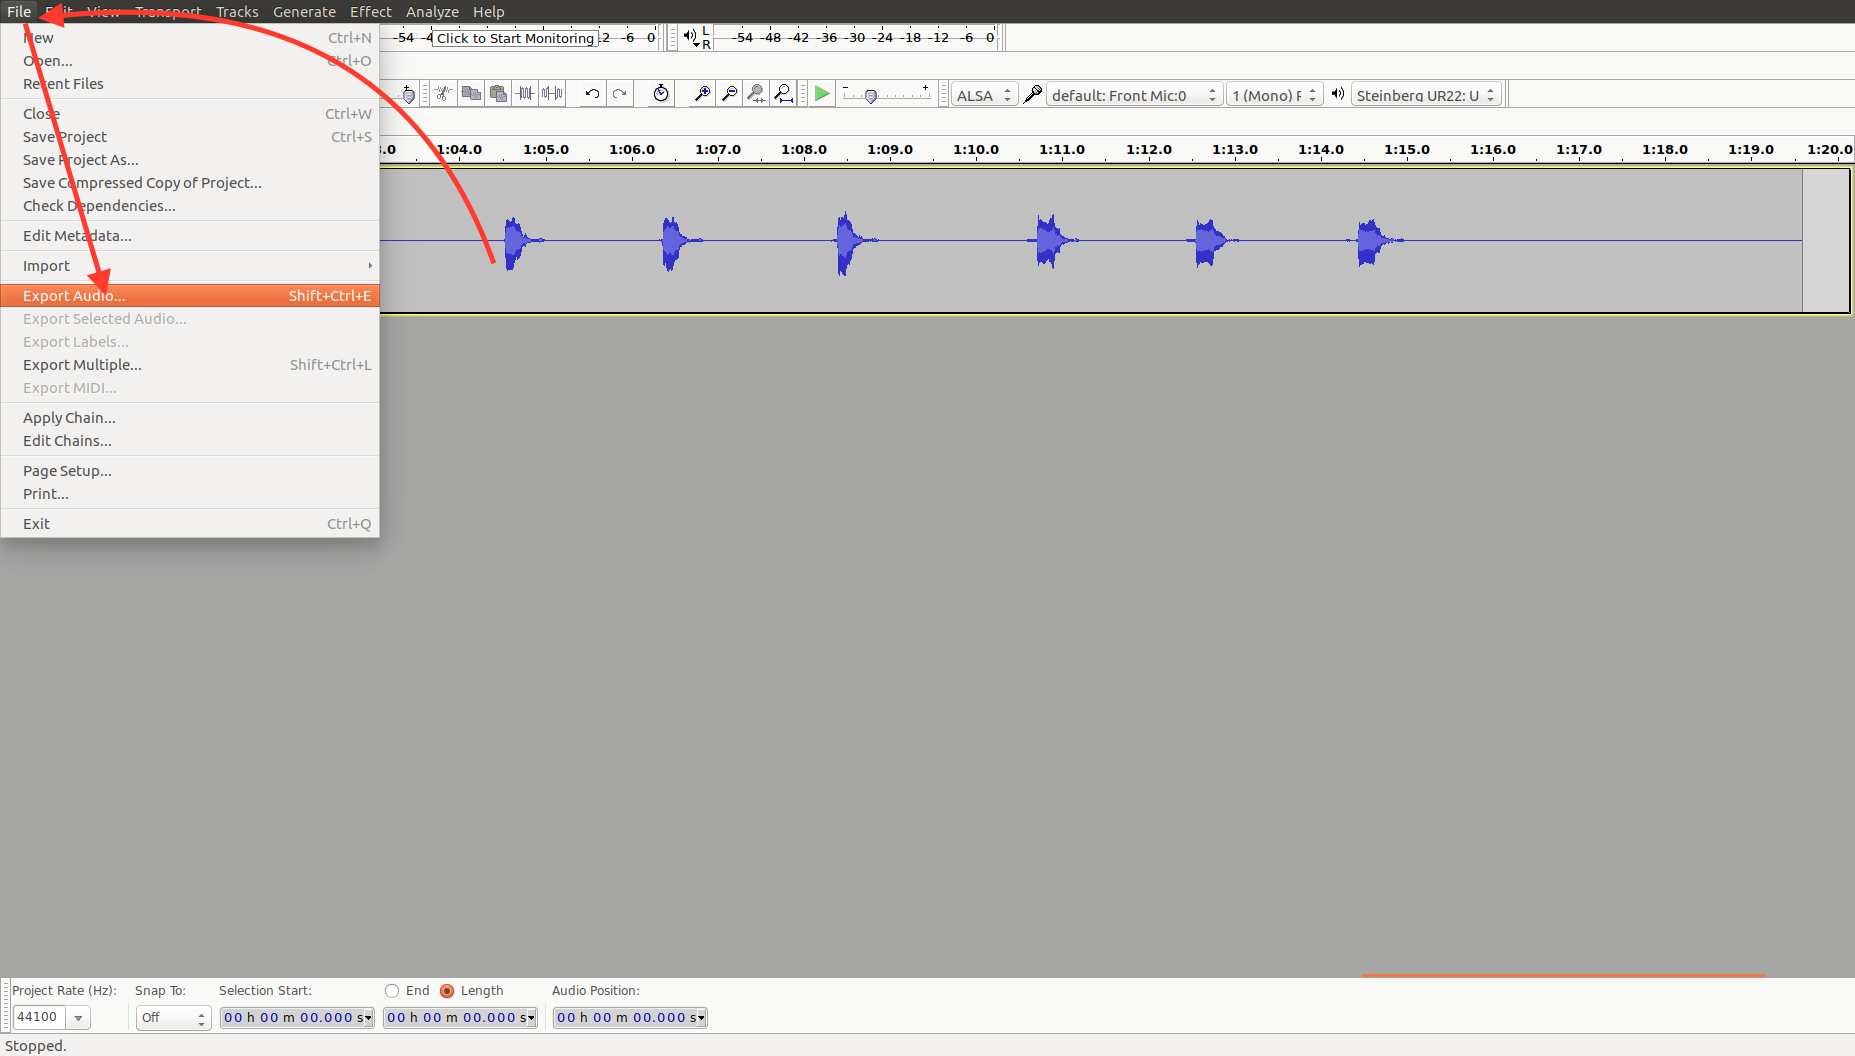
Once you’re in the Export Audio window you need to do 3 things
Make sure you’ve named your audio track
Make sure that it’s saved as a .wav file
Click Save to save it
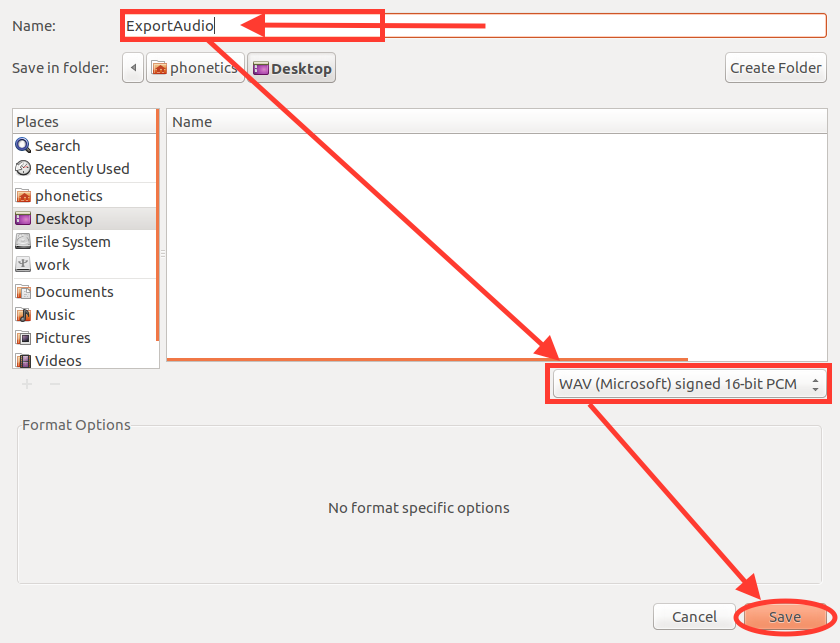
The file should be saved to the desktop and you can transfer it to your flash drive.
Recording in PRAAT3
- Open Praat
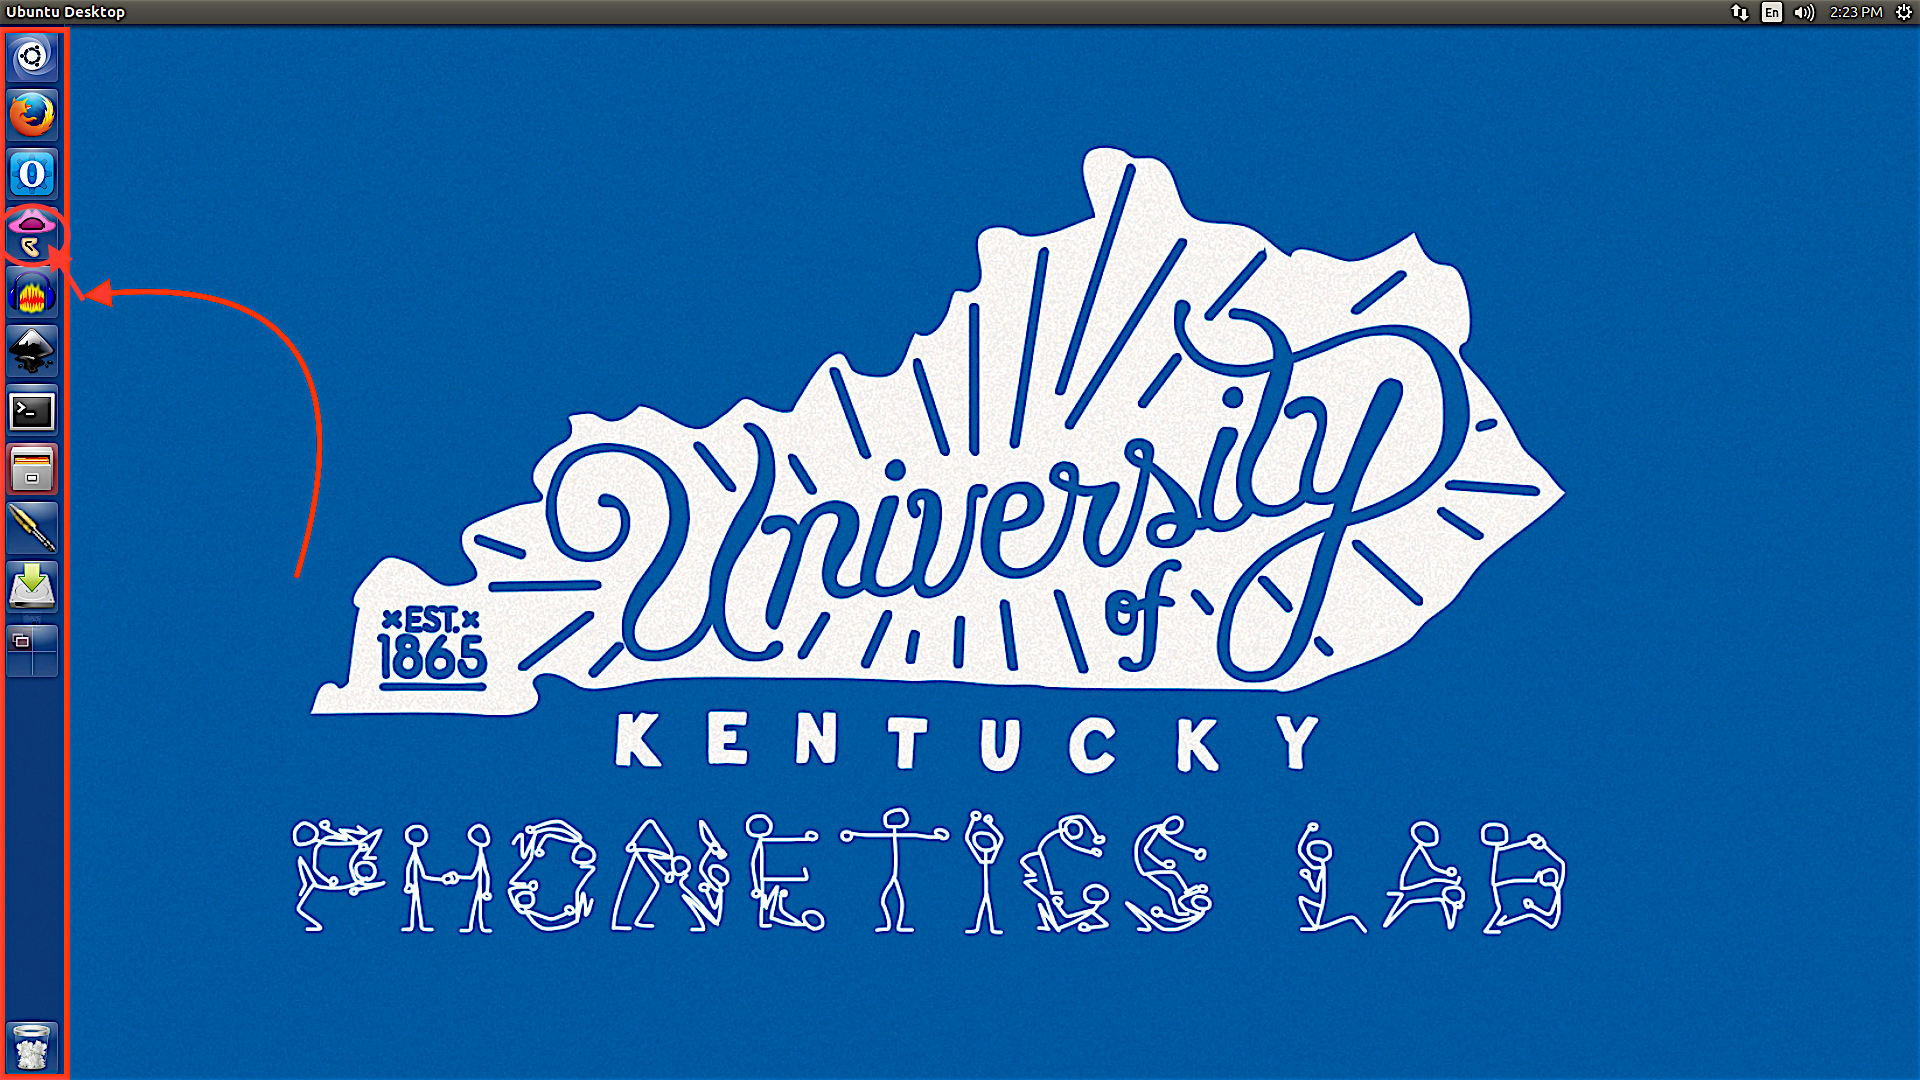
- Click on the new bar and select mono recording
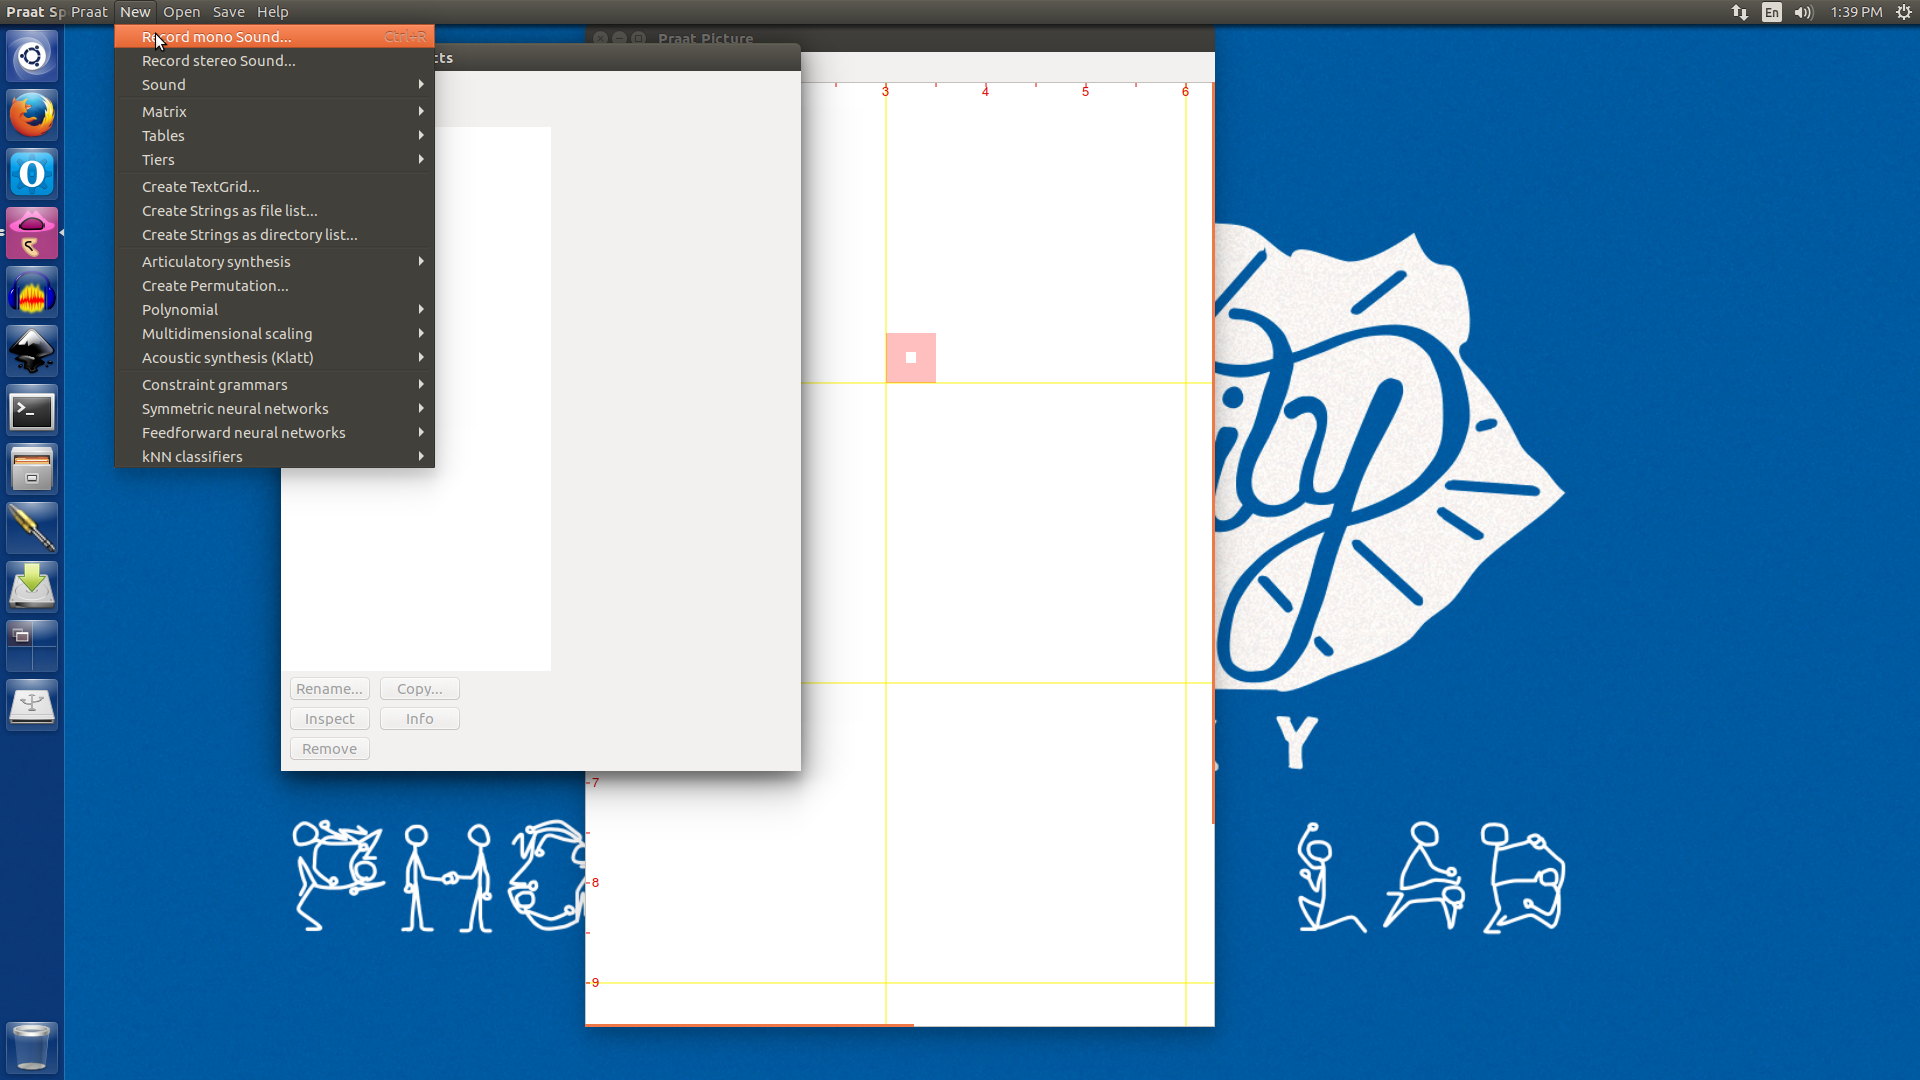
- Once the Recording window is open be sure to:
- Record at a 44,100 Hz sampling rate
- Make sure the Imput source is Steinberg
- Click
Recordto start recording - Click
Stopto stop recording - Add your recording to Praat’s Object list, click
Save to list4 - To Save your recording to a file, you can export the file by going to the Save menu at the top of the screen and clicking
Save as a 32 bit .WAV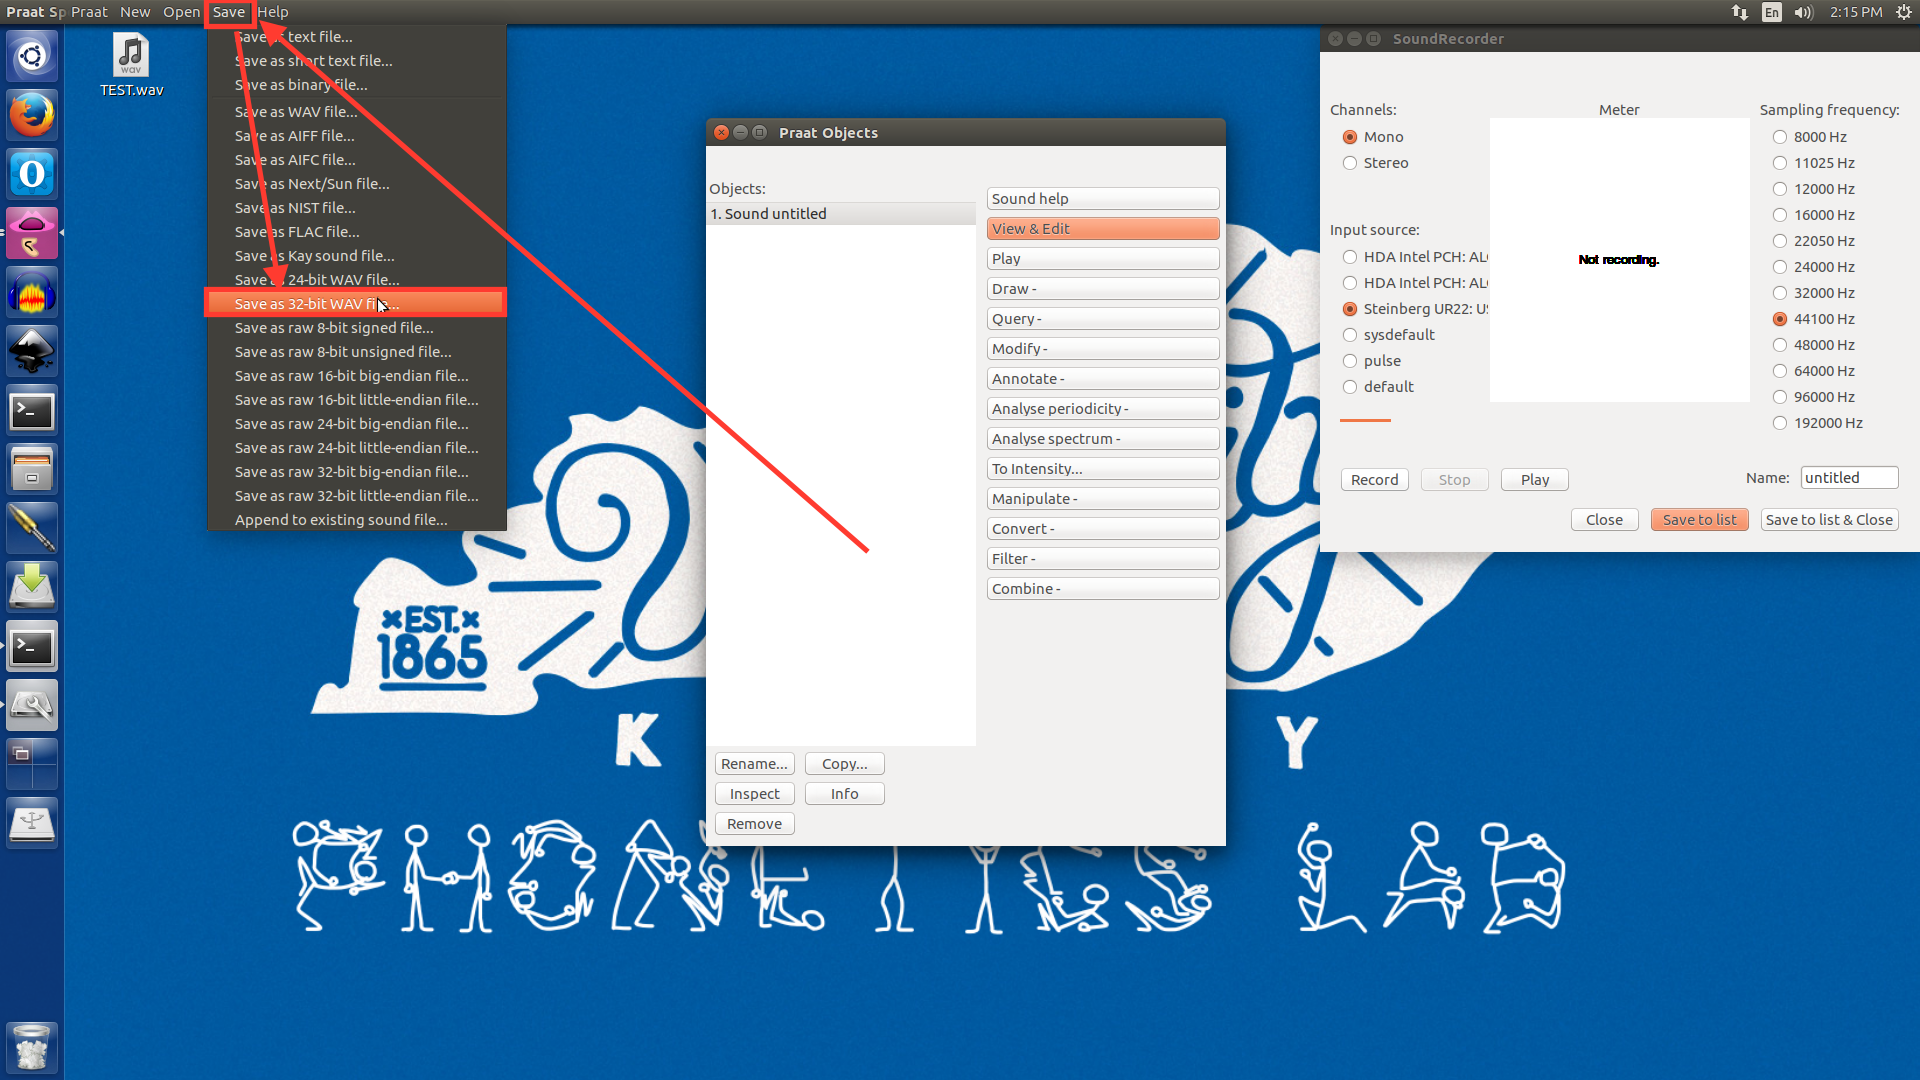
- Name the file and then click
Save.
- The file should be saved to the desktop and you can transfer it to your flash drive.
Putting files in a directory that will be backed up
The lab machines are backed up every night at 10pm, but your files will only be kept if they are in the Documents folder. Be sure to create a folder for yourself.
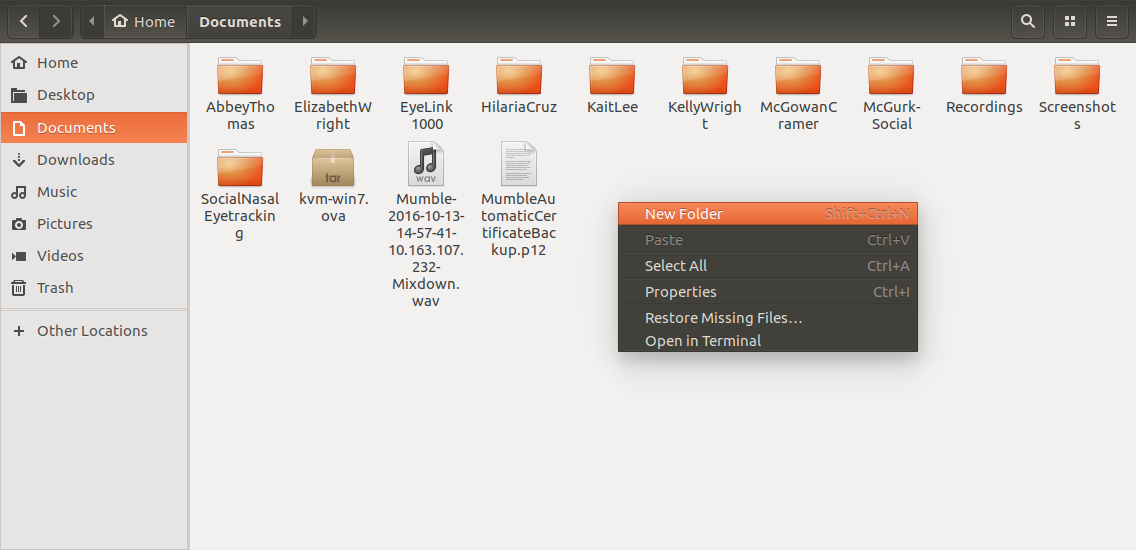
Launch the file manager screen

Open the Documents folder
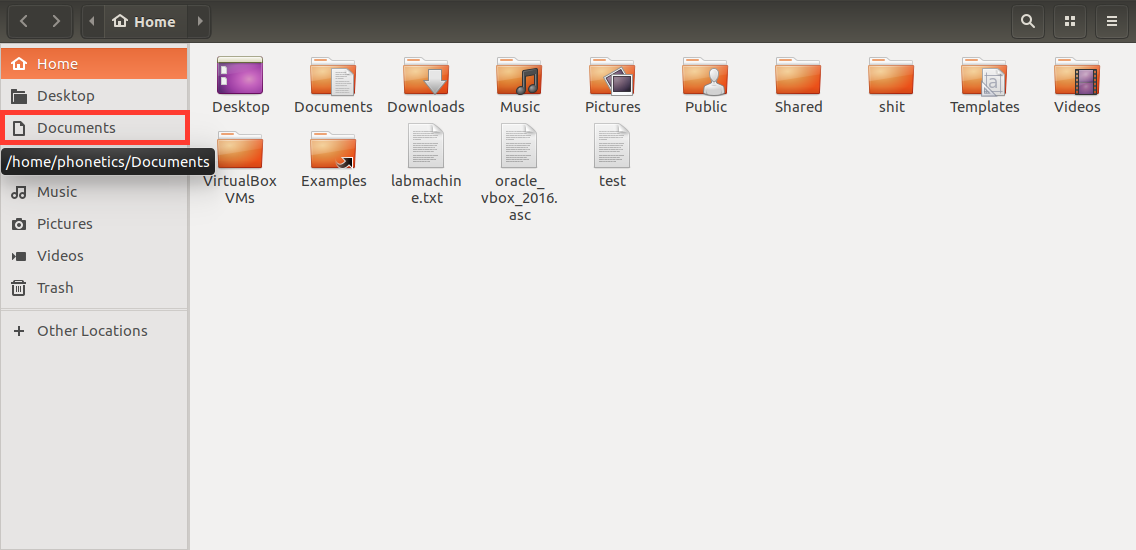
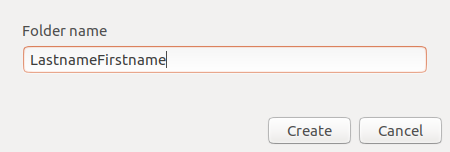
Create a folder with your first and last name
Move your files here from the Desktop or they will be deleted later.
Writing files to a flash drive
The easiest way to get data from a lab machine to your own computer is a flash drive. There are several drives that belong to the lab and can be used to transfer data to your laptop: please do not take any of these drives out of the lab.
- Find the computer you are using. In the small booth this is Hyoid and it’s the large, black box on the table behind the pillar. There are USB ports on the top front.
- If it asks you to format the flash drive
- Make sure that you’ve Backed up all the data on the flash drive
- Format it as Fat (MS-DOS)
- Restore the data that was on the drive before the Format
- It should work now on all of the computers
- Click on the drive

- Drag and drop files onto your drive
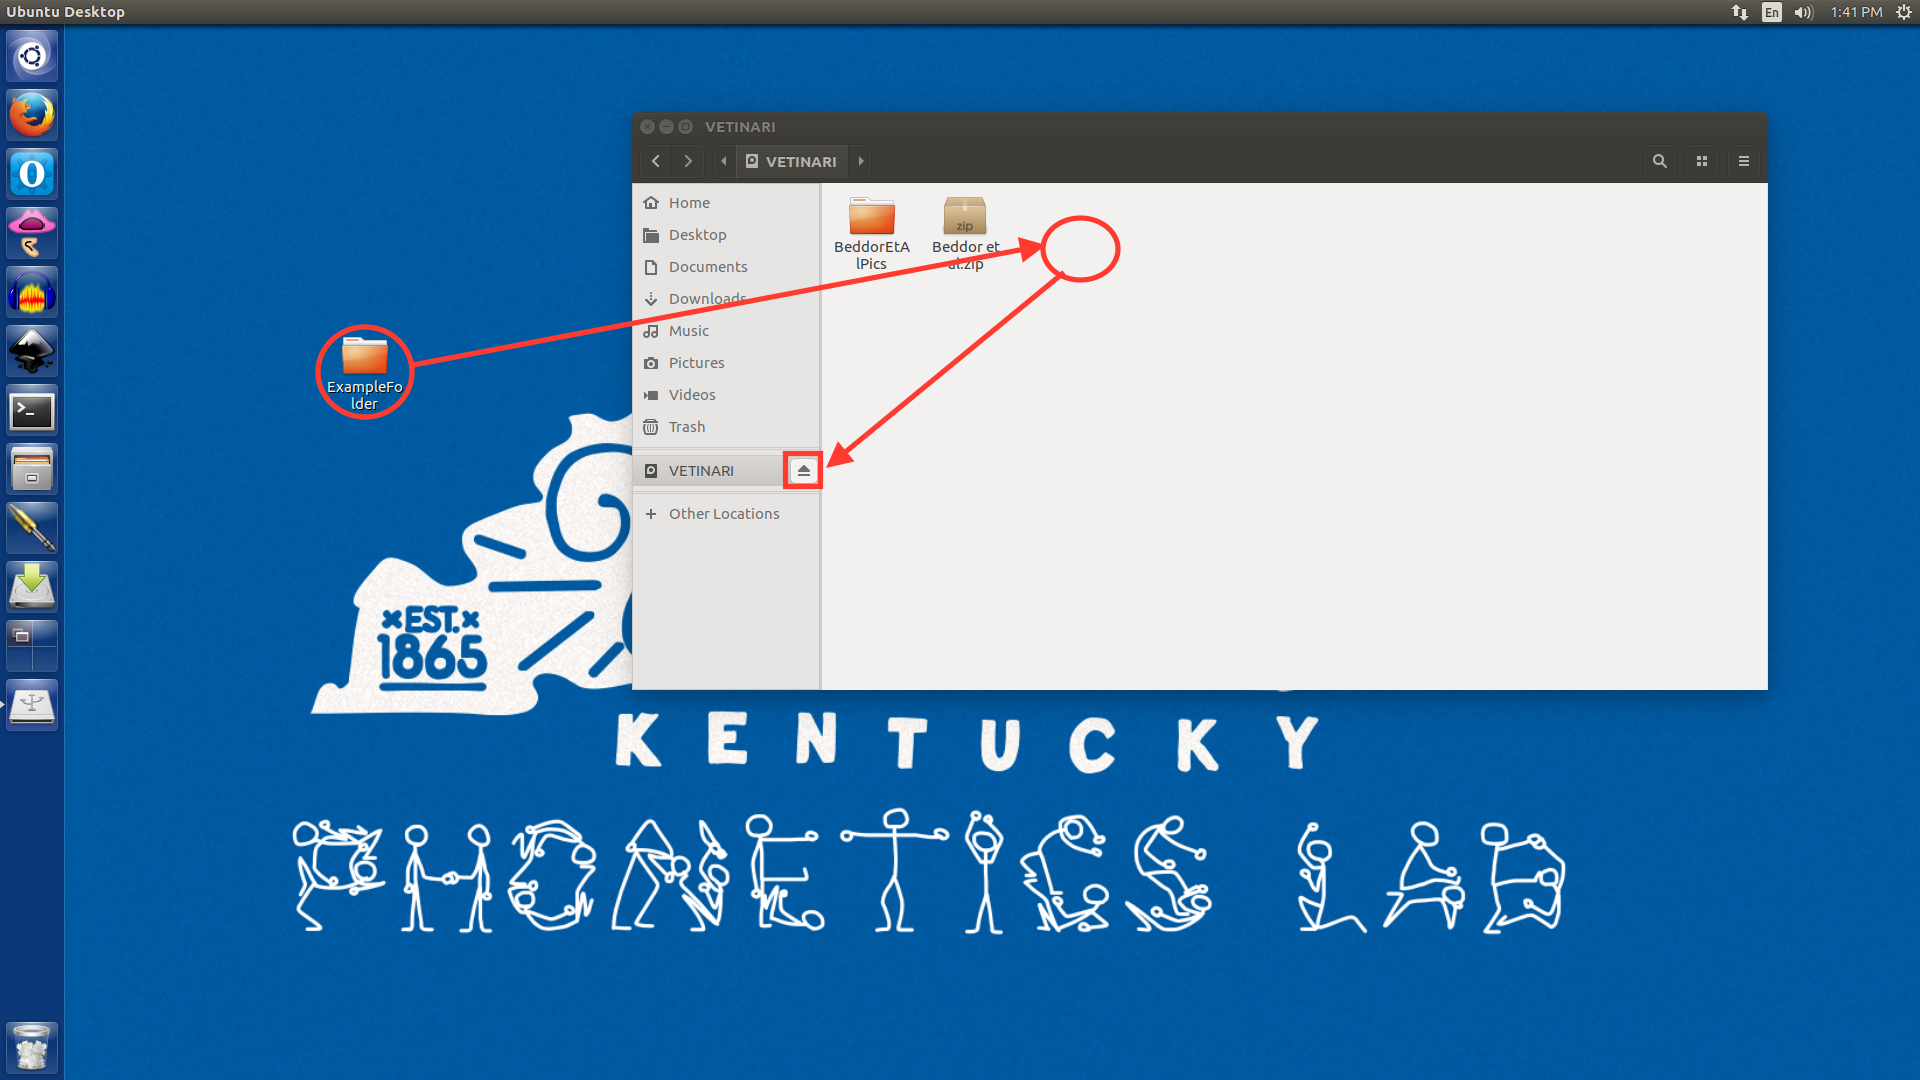
- Eject the Flash drive